
 Image 1 of 3
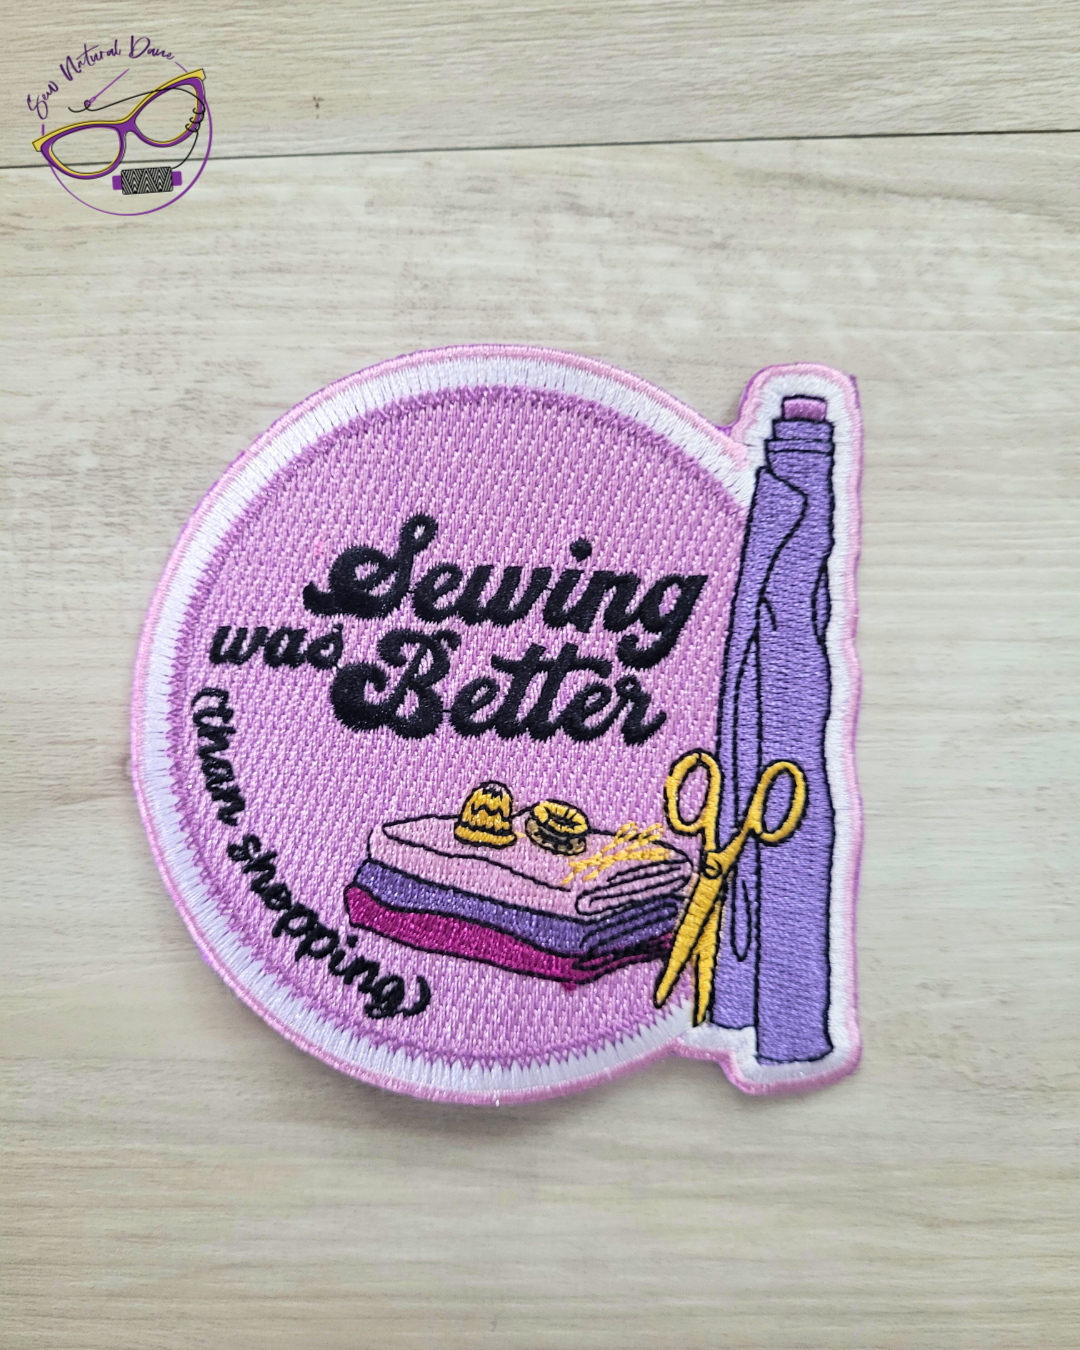 Image 2 of 3
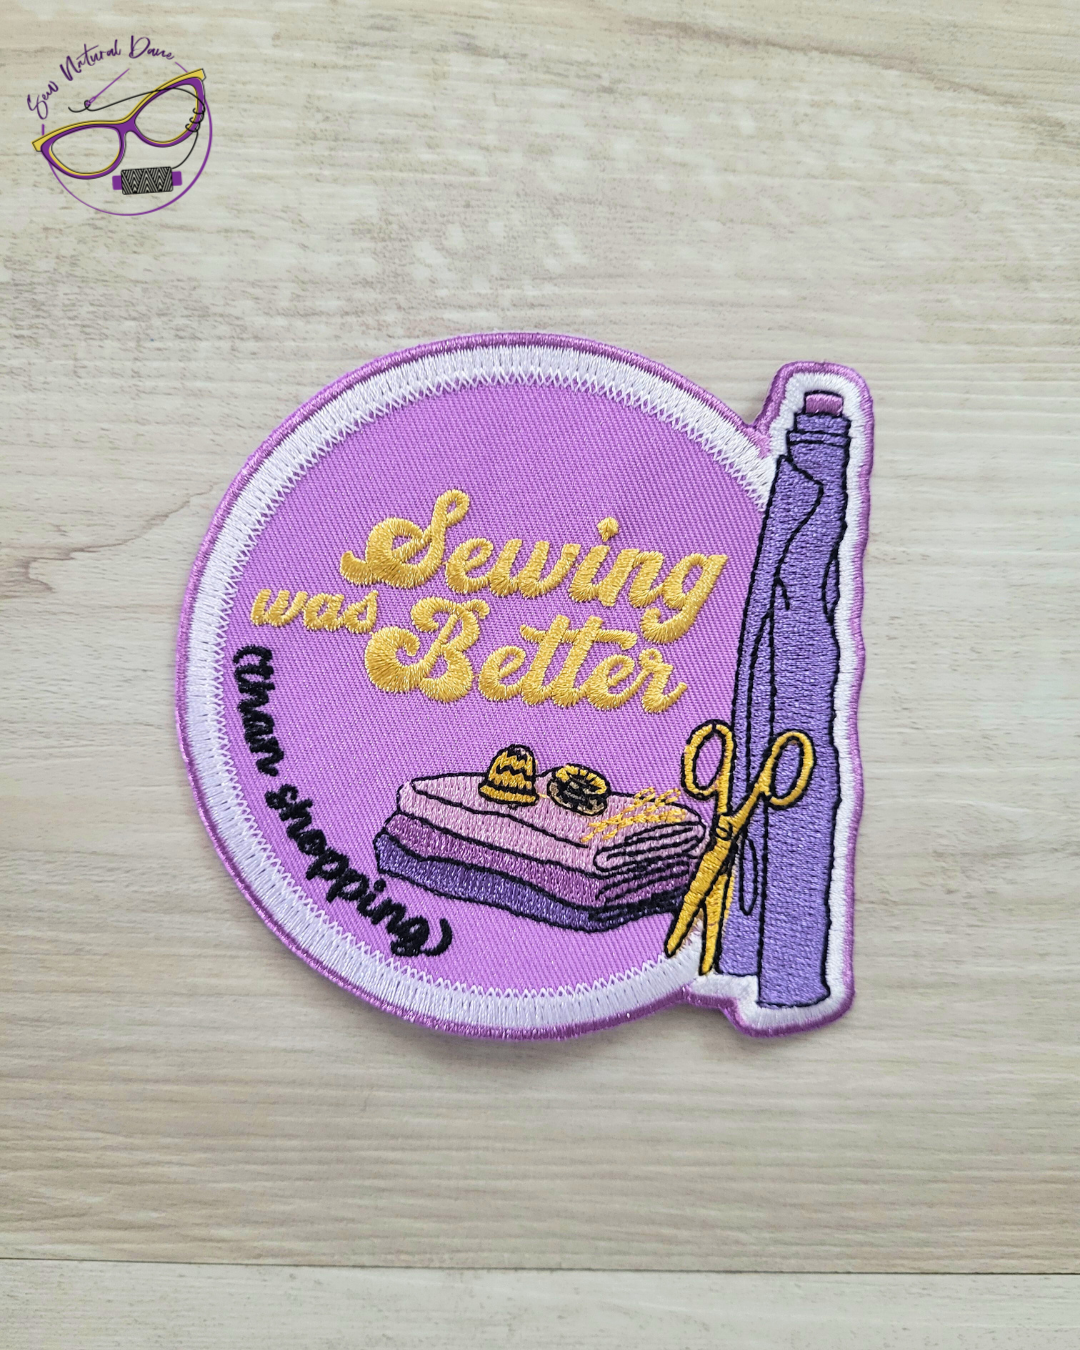 Image 3 of 3
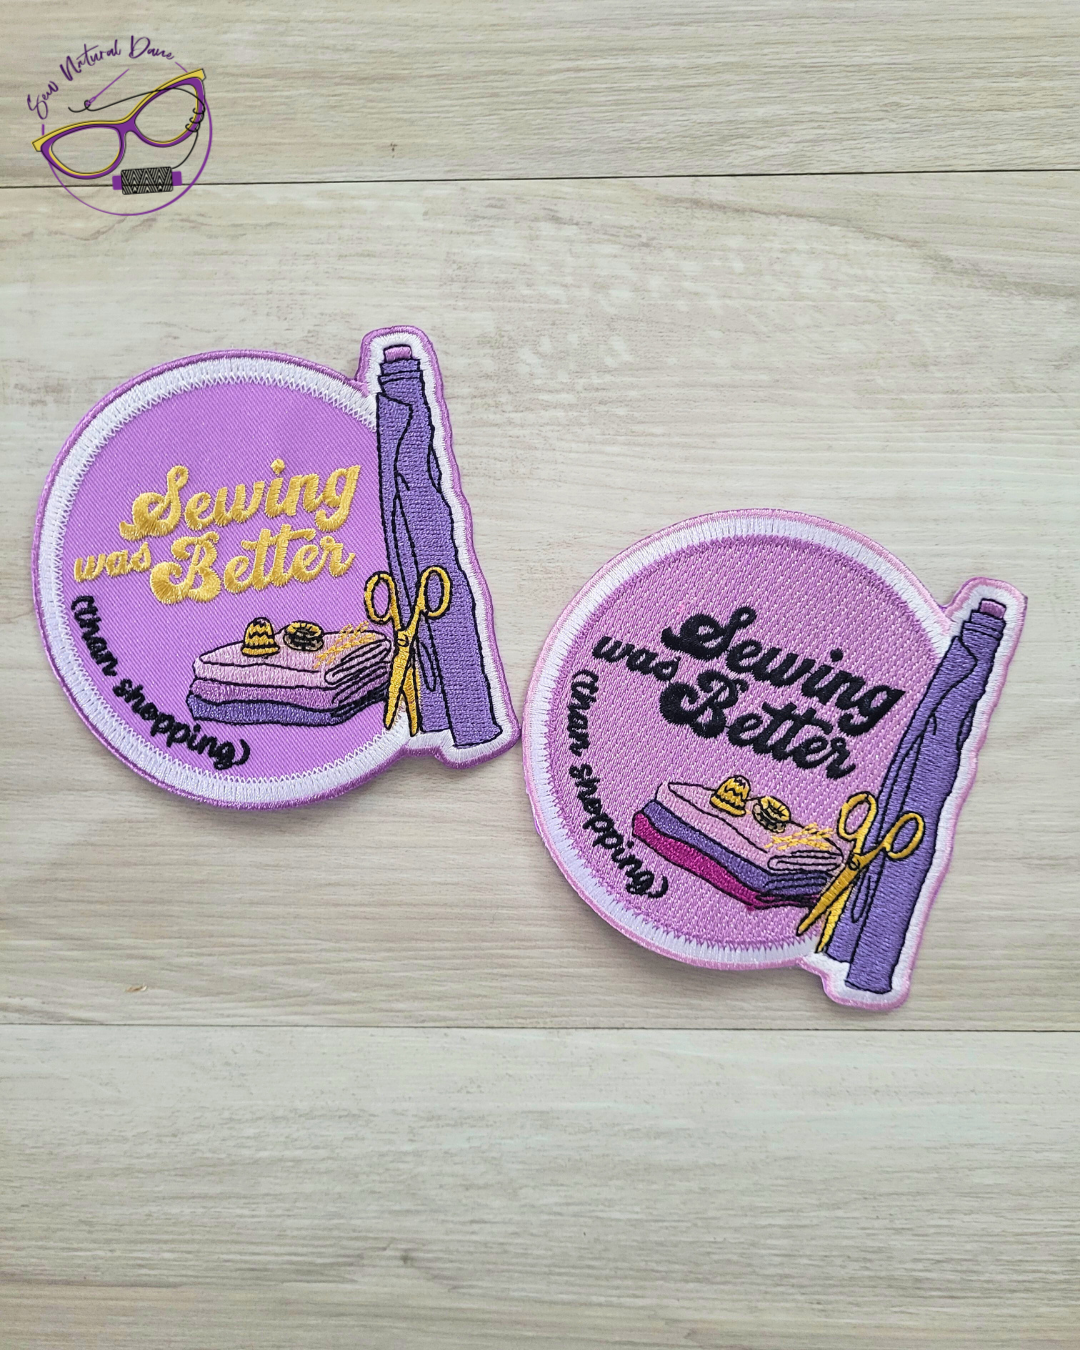
Add a personalized touch to your sewing projects with our collection of embroidered patches! Each patch features vibrant, finely detailed designs inspired by the craft of sewing and creativity. Durable and easy to apply, these patches are perfect for embellishing bags, jackets, sewing kits, or any fabric accessory that could use a dash of creativity and flair. Elevate your handmade pieces and showcase your passion with these delightful accents—ideal for gifting or treating yourself!
Details
Size: 3.5” x 3.5”
Suggested Instructions On Applying Your Patch With An Iron
To apply an embroidered patch with an iron, set a dry iron (no steam) to its highest cotton setting (~350 -400*). Position the patch, cover it with a protective cloth or parchment paper, and press firmly for 30–60 seconds. Turn the garment inside out, iron the back for 30 seconds, and let it cool. Repeat as needed. CLICK HERE TO WATCH HOW TO VIDEO
Suggested Instructons On Applying Your Patch With A Heatpress
To ensure your patch looks professionally pressed every time, follow these four simple steps.
Position Your Patch: Secure the patch to your garment with Thermal Tape (heat resistant tape) to ensure it stays in its desired location when being placed on your heat press or you can use an iron.
Load Garment Onto Heat Press Face Down: Flip the garment/item over and place onto the heat press so the patch is facing downwards and touching the lower plate. This makes it easier to melt the low-melt glue on the back of the patch so that the patch will adhere to your garment/item. The goal is to melt the low-melt glue on the back of the patch, not the visible portion of the patch you’ll see when it’s adhered to the garment.
Press: After laying the garment with the patch face down, lay a Protective Guard Sheet over it to protect your garment from the iron, then press for 20 seconds at 325°F with 70-80 PSI or hard pressure. After pressing, remove the garment from the press and allow it to cool for at least 30 seconds before removing the thermal tape. This allows the melted glue to solidify, thereby bonding it to your garment/item.
For Thicker Fabrics (Hoodies, Jackets, etc.): If after following these instructions the patch isn’t adhering to your garment, it could be because the garment you’re using is made of thick material, such as a hoodie, jacket, etc. If this is the case, tape your patch to the garment and flip the garment inside out. Then, lay the garment onto the heat press so that the back of the patch is facing up. Lay a piece of parchment paper over the garment and press for 20 seconds at 325°F with 70-80 PSI or hard pressure.